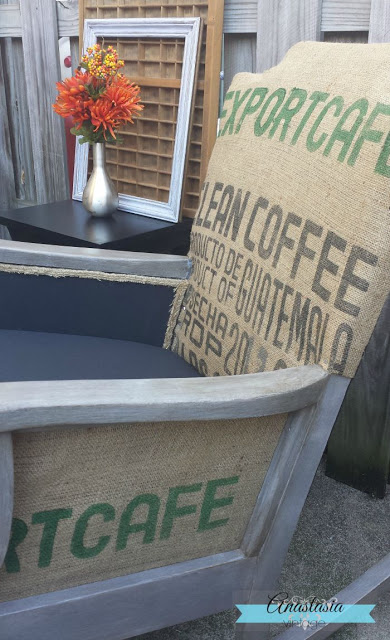
Good morning, friends! Fall has finally set in here, and I couldn’t be happer. To help ring new the new season, today I’m sharing a recent coffee sack rocking chair makeover as part of the Burlap Lovers Series over at my friend Maryann’s blog, Domestically Speaking (and if you’re visiting from Domestically Speaking, welcome!)
Head on over to read all about it, and be sure to check out all of the other awesome burlap projects that are featured. You’re sure to find something to inspire your fall decor!
Now onto today’s post!
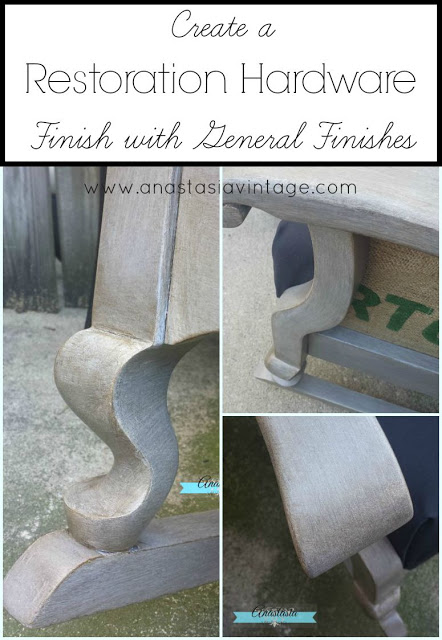
For the rocking chair makeover, I decided to experiment with some milk paint and glaze from General Finishes to create a Restoration Hardware-inspired look. I was so happy with how it turned out that I decided to share with you how I did it.
Disclosure: I completed this project using product provided by General Finishes, as part of my supplies for the September Fab Furniture Flippin’ Contest. As usual, my opinions on it are 100% honest.
Here’s what you’ll need:
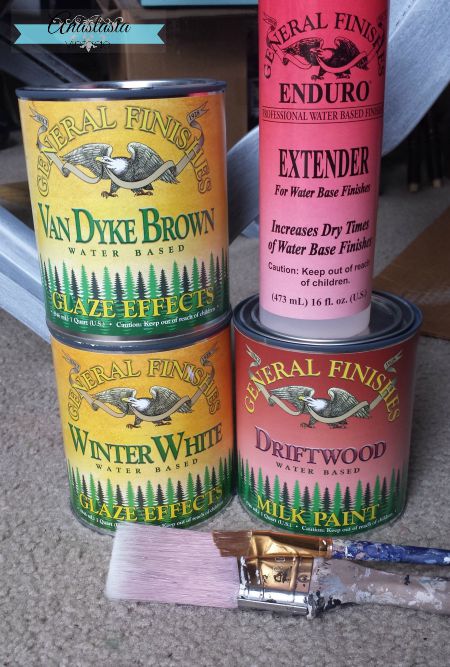
- General Finishes Milk Paint in Driftwood
- General Finishes Glaze Effects in Winter White and Van Dyke Brown
- General Finishes Enduro Extender
- an artist’s brush (mine is about 1 inch wide)
- a good quality paintbrush (mine is a 2 1/2 inch angled Purdy brush)
First, apply a base coat of Driftwood Milk Paint.
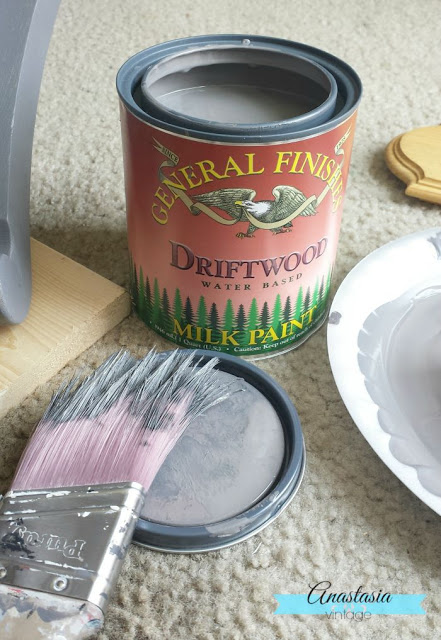
Once the Driftwood base coat has dried, seal it with one coat of High Performance Topcoat (HPTC).
Next, combine some Winter White Glaze Effects with Enduro Extender, at about a 5:1 ratio. Apply the glaze mixture in a thin coat with your artist’s brush.
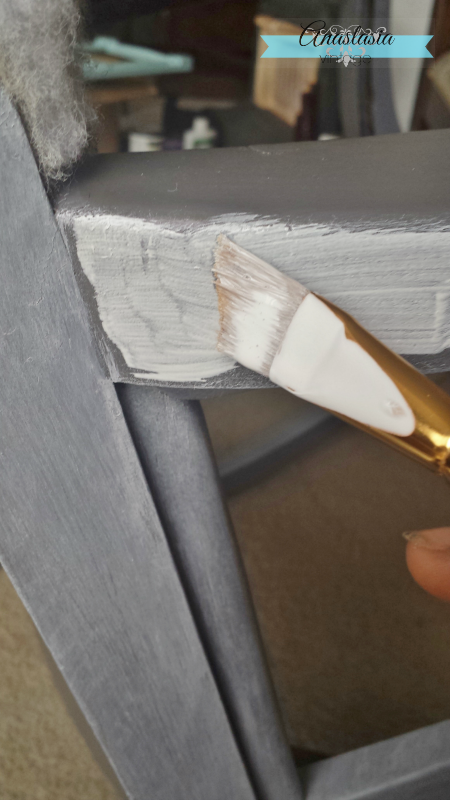
Using your paintbrush, remove some of the excess glaze in long strokes, dabbing the glaze off of your brush onto a rag as you go. Then, go over the glaze in a quick, “feathering” motion with your paintbrush – the goal is to soften the brush strokes in the glaze and create a “hazy” look.
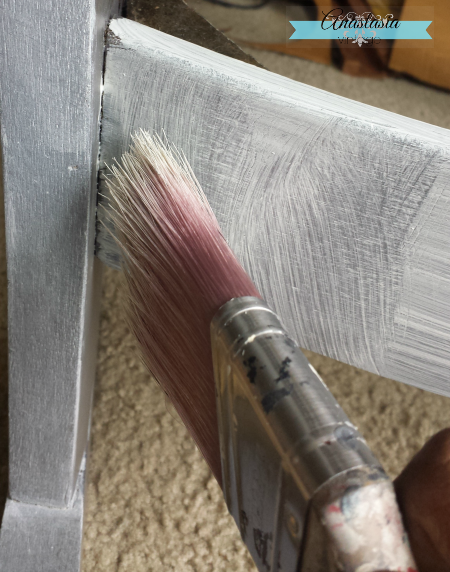
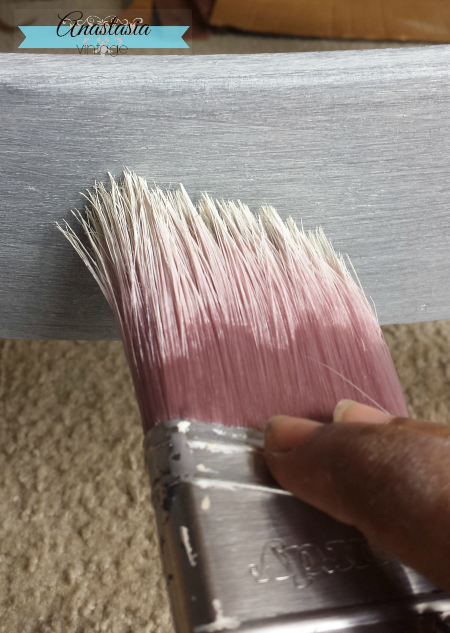
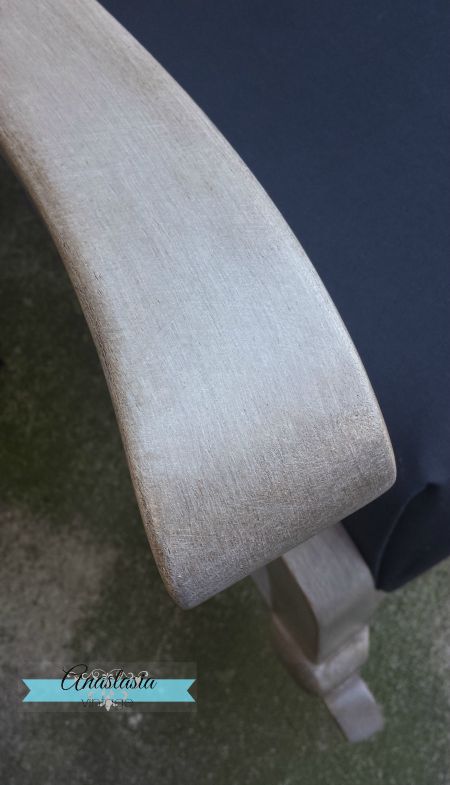
You can feather out the glaze as much or as little as you like until you’re happy with the look. Here’s what mine looked like after this step:
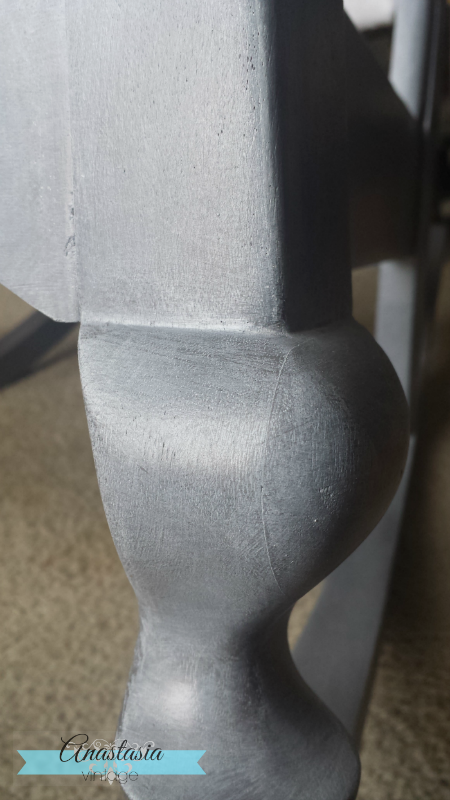
Once this layer is dry, use the same paint-on, feather-off method to apply a coat of Van Dyke Brown Glaze Effects mixed with Enduro Extender, at about a 1:1 ratio. You’ll want the brown glaze to be quite thin, to avoid overpowering the grey and white layers underneath.
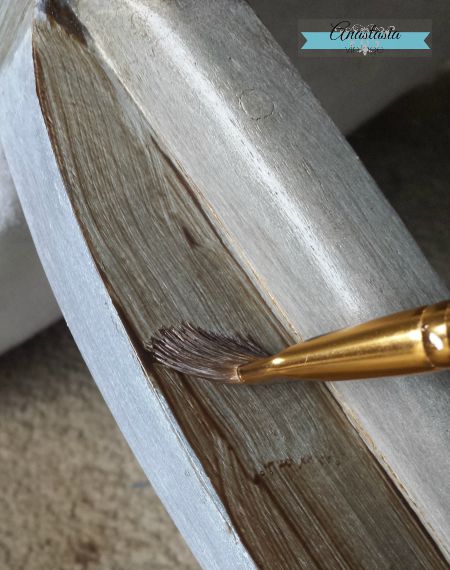
You can add more Winter White or Van Dyke Brown to create more highlights or shadow wherever you’d like. Just be sure to feather it out to create a seamless look.
Once the glaze has fully dried, seal the entire piece with HPTC.
Here’s the finished look!
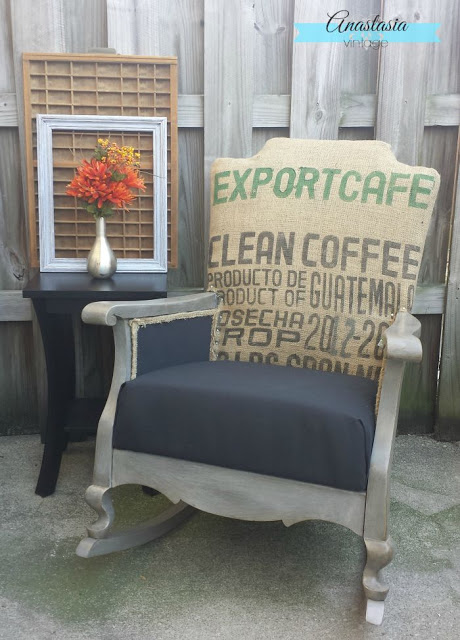
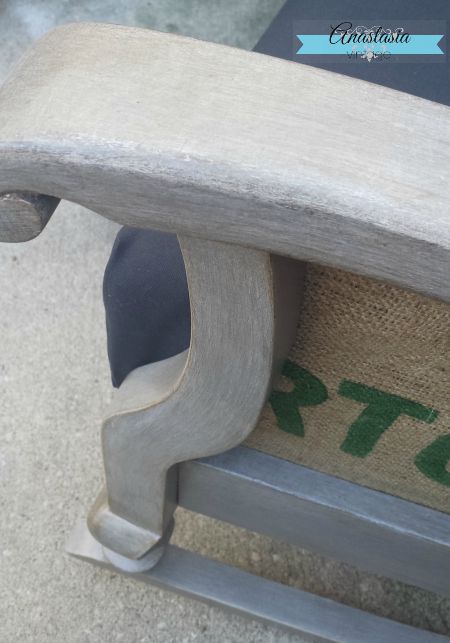
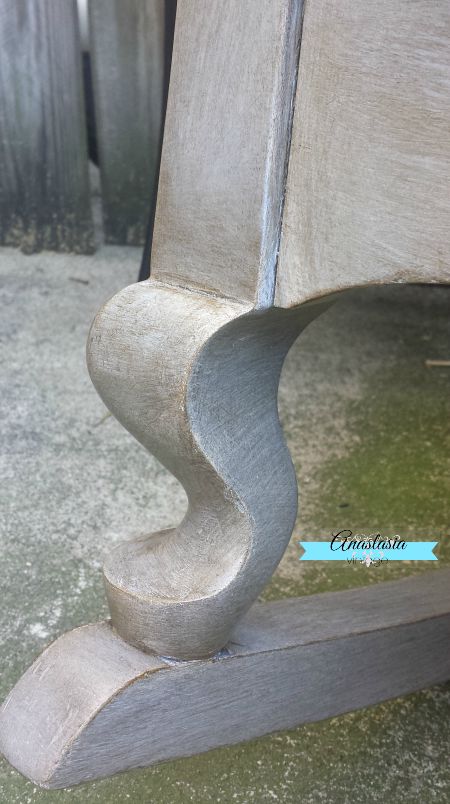
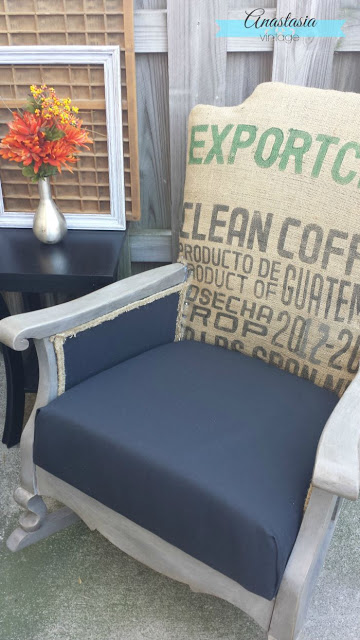
Pretty easy, right? It’s a great technique to just have fun with and create a look that makes you happy. I’m excited to keep experimenting with it! Let me know if you try it out or have questions!

If you enjoyed this post, we’d love to connect with you! Find us on:
Shared at these wonderful link parties
This post appeared first on Anastasia Vintage (www.anastasiavintage.com)

