Disclosure: This post contains sponsored links from General Finishes. All opinions I share are 100% honest and entirely my own. Please see full disclosure policy here.
Good morning! Welcome to the first Fab Furniture Flippin’ Contest of the New Year!

This month’s contest is one I’ve been anticipating for a while. We are so happy to welcome back one of our previous sponsors (and a personal fave of mine), General Finishes!

As you might have heard, the good folks at GF have recently added a new product to their line: Chalk Style Paint. And this month, they’ve provided all of the hosts and participants with some of their brand new paint to use for our projects!
See more General Finishes projects here!
The theme for this month is “A Fresh Start” – we’ve challenged our participants to take a piece of furniture they already own and give it a new, fresh look for the new year. So it’s only fair for us hosts to also makeover items already in our homes too, right?
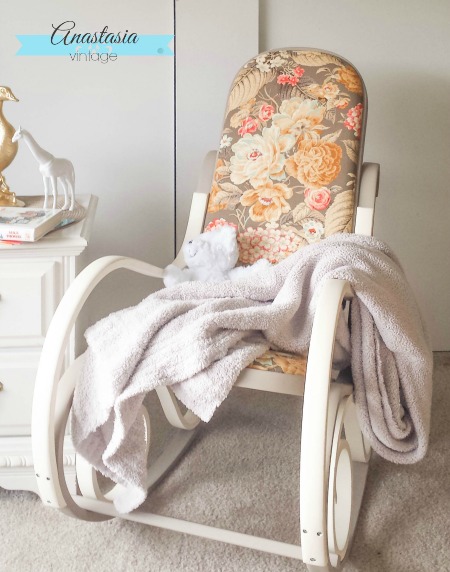
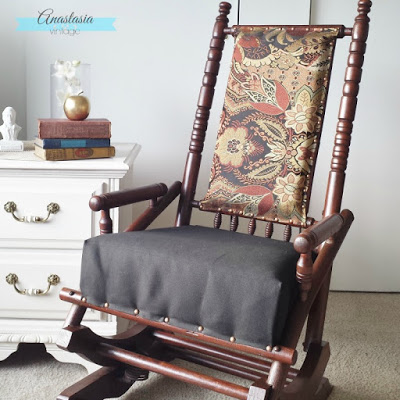
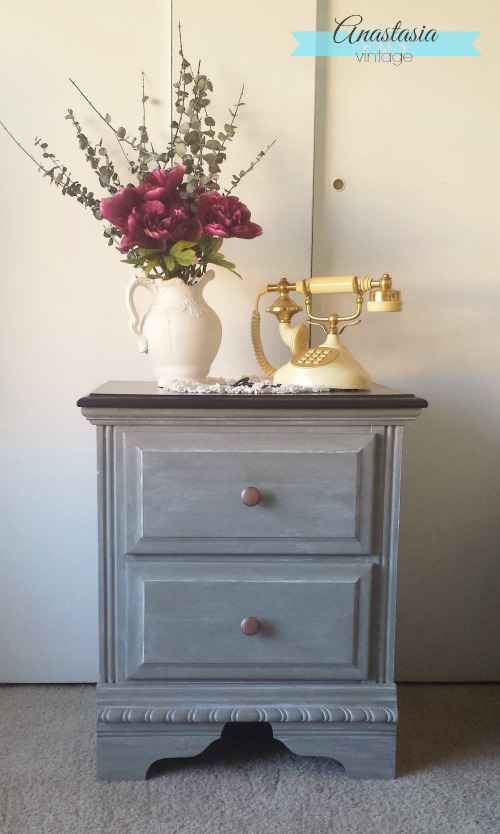
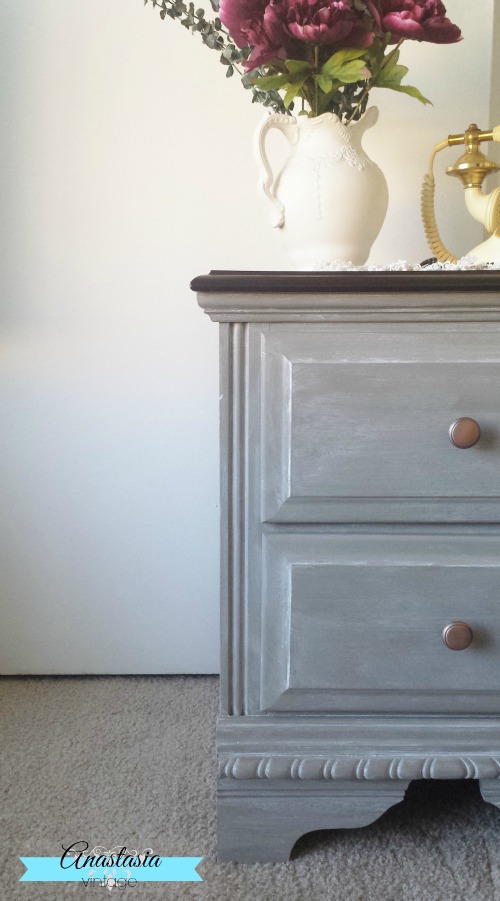
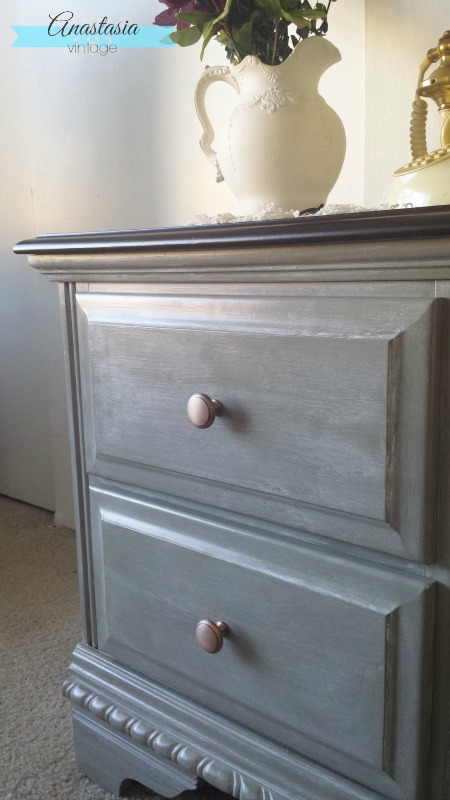
The piece I chose is one you may recognize. It made a brief appearance with my project for the May FFFC:

and also shared the spotlight with a rocking chair makeover I did the following month:

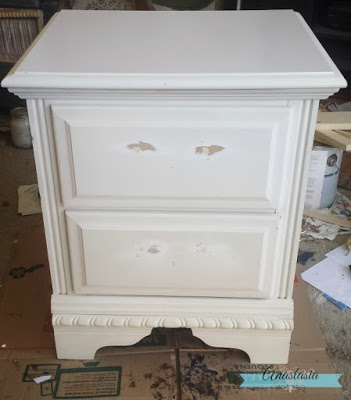
Figured it out yet? It’s my nightstand! My actual nightstand that used to live beside my actual bed, and the first piece of furniture I purchased in the U.S. after I arrived for grad school. It has served me well for several years, but we recently replaced it with another piece I painted, so the time had finally arrived to give it a makeover.
As you know, sometimes I like to get a jump on projects before taking a proper before photo. Bad blogger, I know. Here’s the nightstand before, minus the hardware 🙂

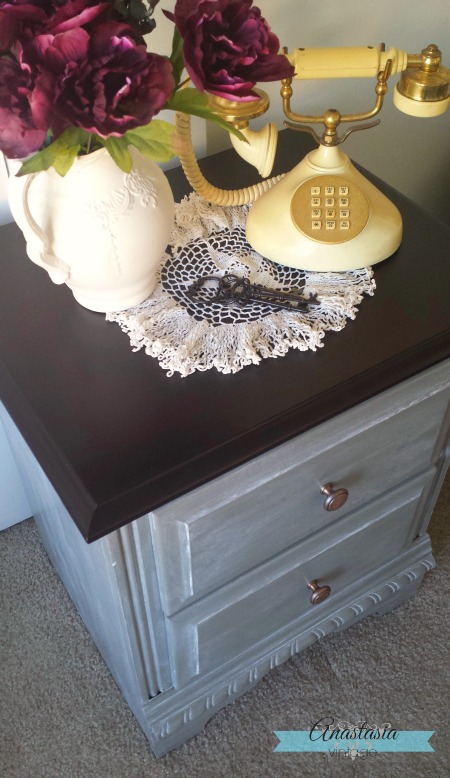
I’ve always loved the lines of this piece, but I’ve never been a fan of the laminate top. So my first step was to give the top a faux wood look by staining the laminate witih GF Gel Stain in Java.
Did you know you could stain laminate with gel stain? It’s true! Just paint on thin coats of the stain, and don’t wipe back the excess stain as you normally would when staining wood. So easy!
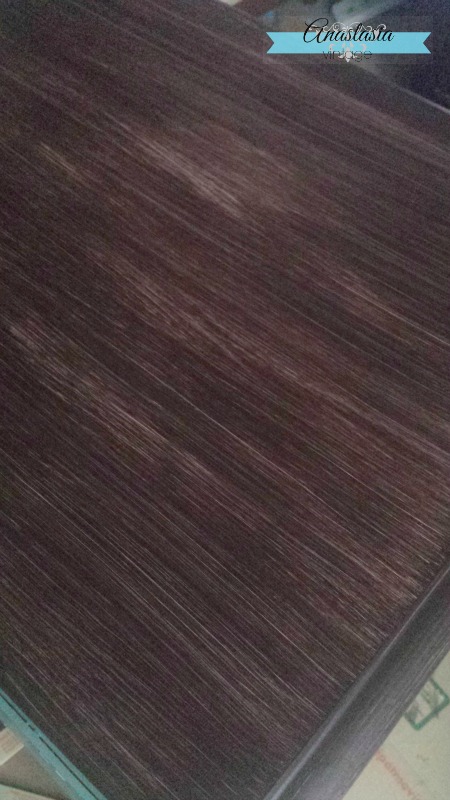
Here’s what it looked like after the first coat:

Yup, it’ll look like a hot mess for the first couple of coats, but I promise, it gets better. As the layers build up, you’ll get nice solid coverage and a rich, warm tone.
Be sure to allow each coat to dry for a full 24 hours before applying the next one. After 72 hours of allowing the final coat to dry, I sealed with GF High Performance Topcoat.
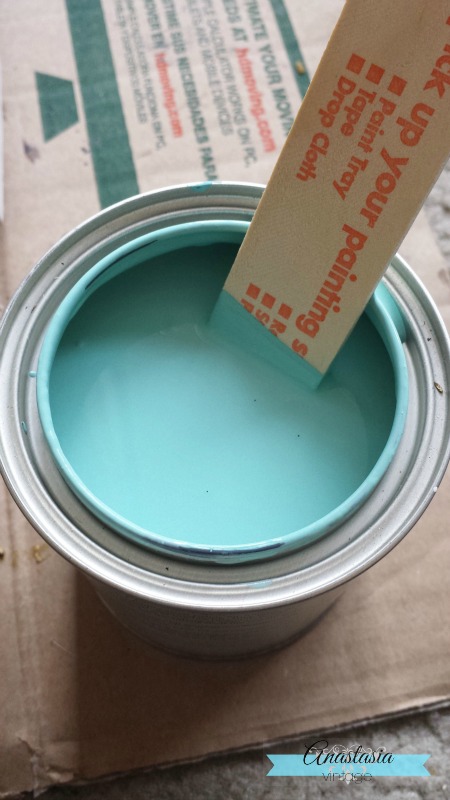
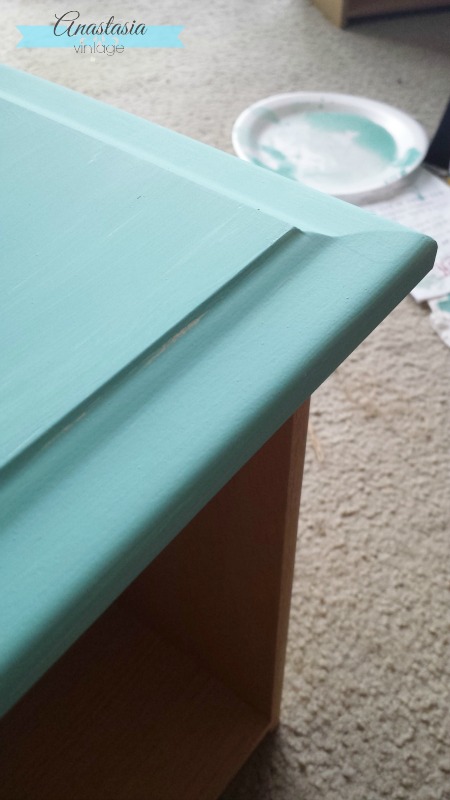
Once the top was done, it was time to paint the rest. I used one of the new colors I’d gotten from GF: Key West Blue, a very pretty turquoise shade.

I loved how smoothly the paint went on. Plus, it dried to a really lovely matte finish.

But, just as in life, sometimes futnirue projects don’t turn out the way you planned them 🙂
As much as I love Key West Blue, when I got home after visiting family for Christmas, something about it just didn’t feel right with this piece. It was time to repaint.
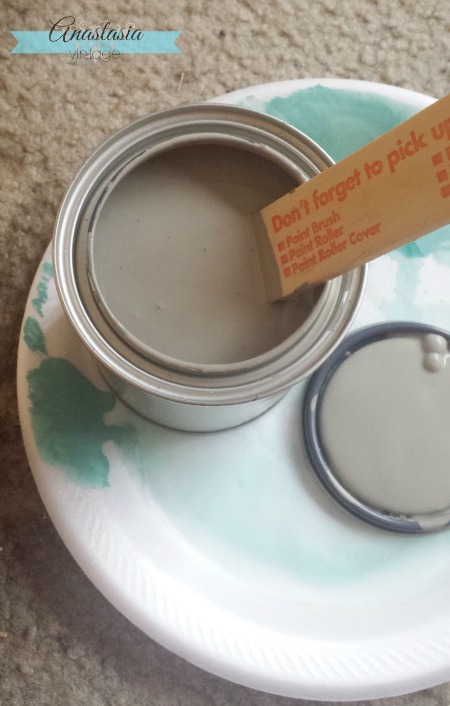
So I broke out the second color I’d gotten from GF: Empire Grey.

I immediately felt better about this color choice – and luckily, it completely covered the Key West Blue in only two coats 🙂
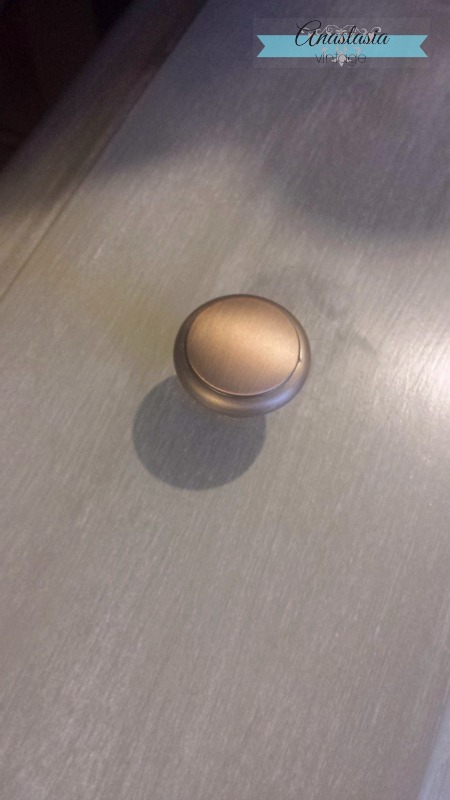
I sealed the painted parts with GF Flat Out Flat Topcoat. Then, to really highlight the details, I whipped up some white wax with GF Snow White Milk Paint and some Annie Sloan clear wax I had on hand. Lastly, I added some new copper colored knobs to finish it off.

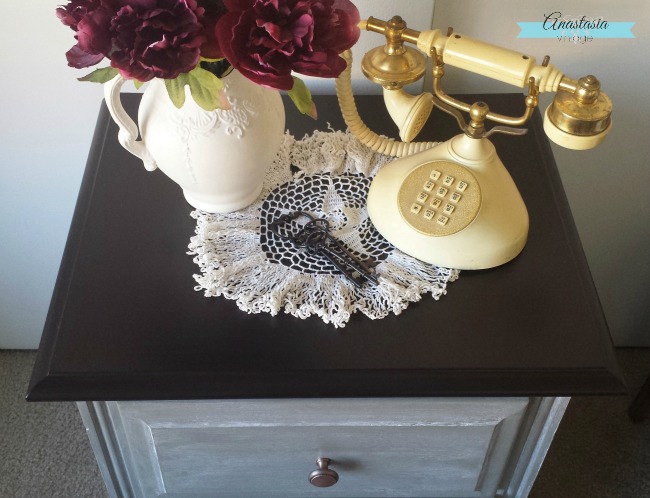
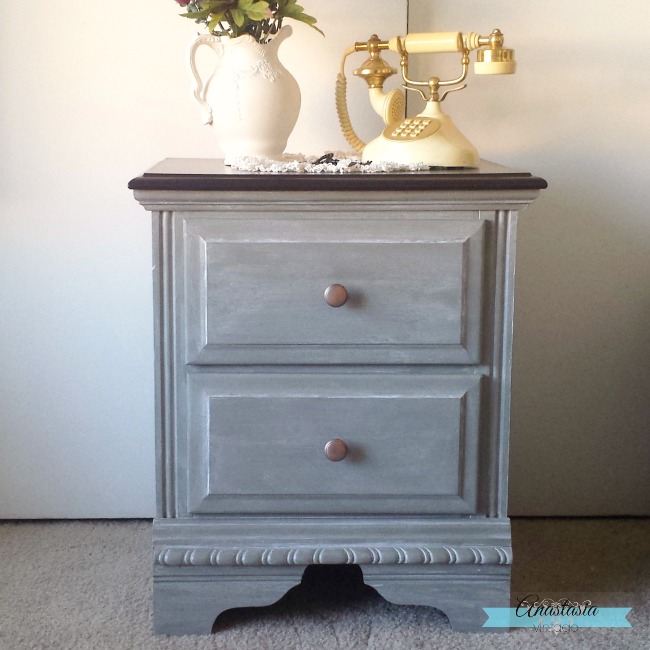
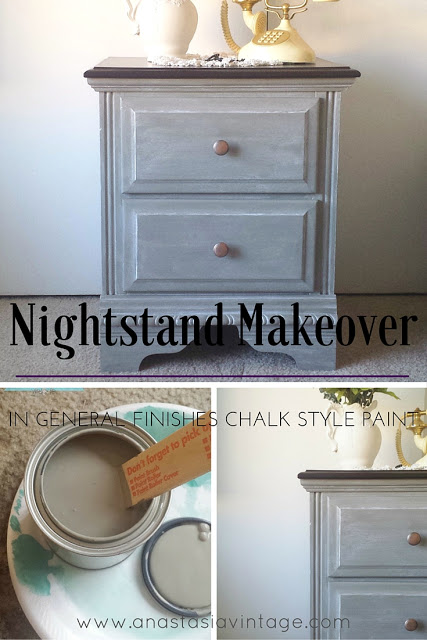
And here’s the finished product!


If you enjoyed this post, we’d love to connect with you! Find us on:
Shared at these wonderful link parties!
This post appeared first on Anastasia Vintage (www.anastasiavintage.com)

