Welcome to the second installment of our Working With Wood series, where I’m sharing my best tips for restoring wood furniture. In case you missed it, be sure to check out the first post in the series, my Essential Tips & Tricks for working with Gel Stain.
Today I’ll be sharing my technique for repairing veneer on unpainted wood pieces.
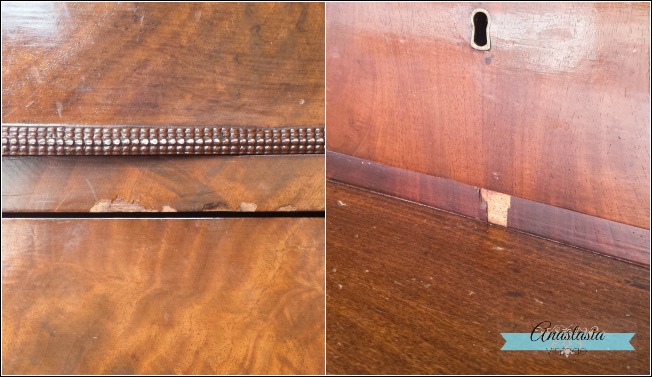
It’s very common for antique and vintage furniture to have missing, chipped, or peeling veneer. When furniture will be painted, lots of folks (myself included) remove the veneer entirely, or patch it with a filler product and paint over it – here’s an example of how to do it. It can be a great solution for painted pieces, but not so much for those that will be left in their natural, wood state.
Another way to repair unpainted veneer is to cut new veneer to size, glue it into the gaps, and stain to match the rest of the piece. It can work well for straight cuts, but on pieces with lots of jagged, awkward edges, it can be hard to cut the veneer to match exactly without creating more of a mess.
This is how I like to repair veneer when I don’t want to paint it:
Here’s what you’ll need:
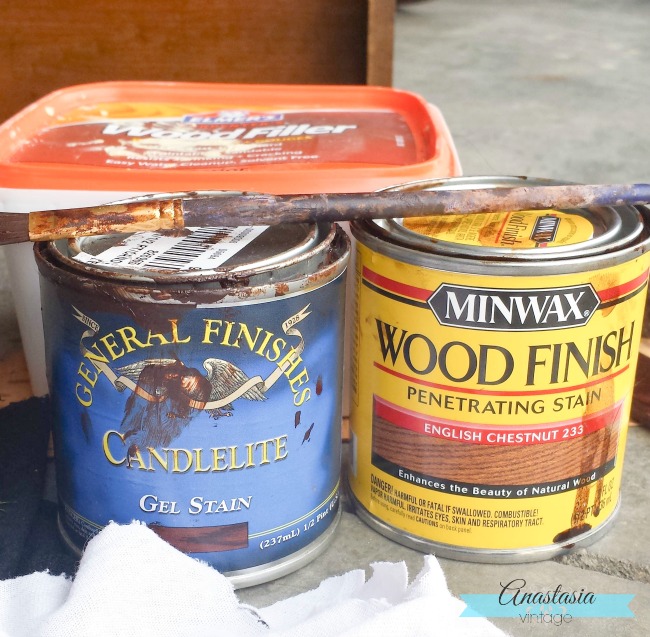
- wood filler
- medium-grit sandpaper (around 180)
- at least 2 colors of gel stain (match to veneer)
- artist’s paintbrushes (1 for each stain color)
- topcoat
1. Fill in the missing patch with wood filler
2. Apply a base coat of lighter stain to the patch
With your artist’s brush, apply a base layer of stain in the lightest color to the patched area. This stain color should match the lightest color in the veneer you are patching.
Some wood fillers will absorb a lot of stain as it dries. Allow each coat to dry completely, and add as many thin layers of stain as you need in one color to get a good match for the veneer before moving on to the next color.
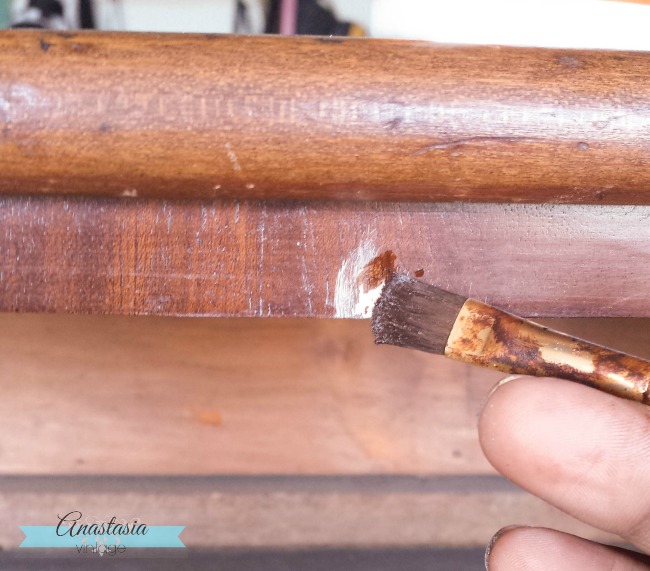
3. Apply a coat of the next darkest stain
As with most veneer, the piece I worked on for this project had a lot of color variation. The goal with applying the next layer of darker stain is to try to mimic those colors in the patched area. I like to leave subtle paintbrush strokes in the stain, as needed, to give more texture to the patched section.
Repeat as needed with your other stain colors (lightest to darkest). As with your lighter stain colors, apply as many coats as you need of one color before going on to a darker shade.
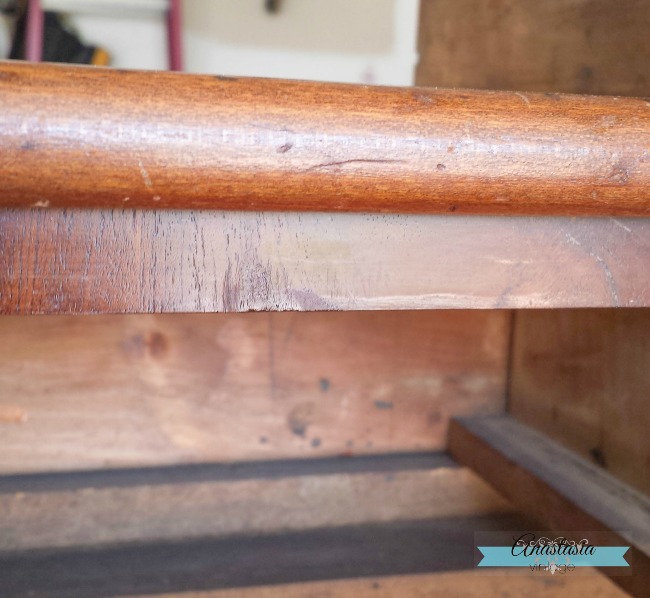
4. Apply topcoat
Your patched area and the surrounding veneer will need a coat of two topcoat to give the piece a uniform finish to the piece and help to conceal the patched area. I like to use regular polyurethane (not wipe-on).
Here’s a completed patched area. See if you can spot the repair (the answer will appear after a couple of seconds)!
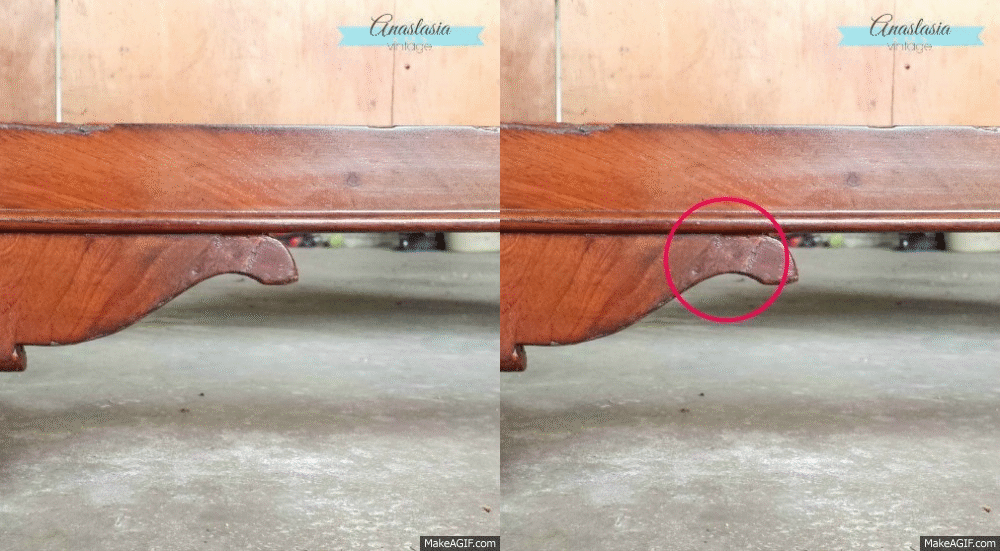
And that’s it! It’s a great way to repair missing pieces of veneer without feeling like you have to paint your entire piece.
Please don’t hesitate to contact us with questions if you’d like!
{ Also in the Working With Wood Series }


